Acura Integra DC2 Coilover Installation Instructions
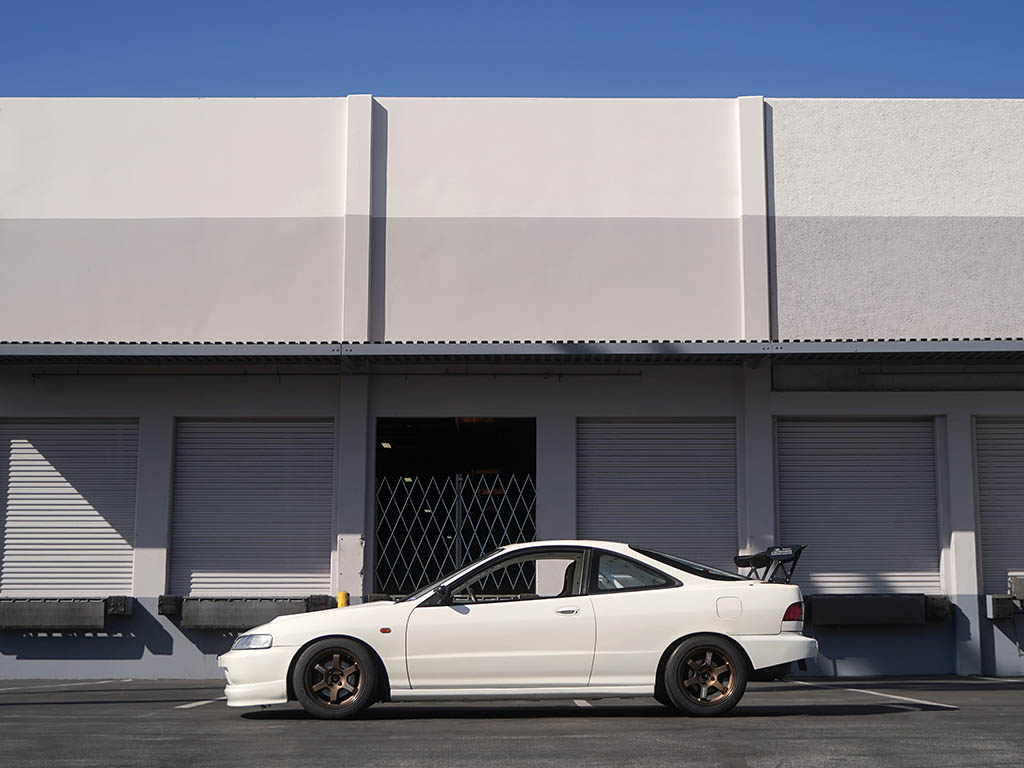
Welcome to the 1994–2001 Acura Integra coilover install instructions. This step-by-step guide is designed to make your installation process smooth and straightforward. We’ve included the recommended tools, factory torque specs, and key tips to help you achieve the best results. While this walkthrough highlights the Function and Form Type 3 Coilover kit, the same process also applies to our Type 1, Type 2 and Type 4 systems for the Integra. For reference, our test vehicle is a 1998 Acura Integra DC2 fitted with 225/45/15 tires on Volk TE37s. Once installation is complete, we recommend scheduling a professional alignment after a short settling period to ensure proper handling, corner balance, and tire wear. A link to our video tutorial is available at the end of this post for those who prefer a visual reference.
The Acura Integra DC chassis, produced from 1994 to 2001, represents one of the most balanced and engaging front-wheel-drive platforms ever built. With its lightweight design, double-wishbone suspension, and naturally aspirated performance, the Integra quickly became a cornerstone of the sport compact tuning scene. Known for its precise steering and nimble response, the DC chassis rewards driver input and offers an exceptional foundation for suspension upgrades.
Installing the Function and Form Type 3 Coilover kit takes the Integra’s handling to a new level. Featuring 24-way adjustable damping and digressive valving, the Type 3 system gives drivers full control over ride stiffness and comfort. The coilovers provide independent height and preload adjustment, allowing you to fine-tune stance and geometry without sacrificing ride quality or suspension travel. Whether you’re preparing for weekend track days or refining your street setup, the Type 3 delivers predictable handling, reduced body roll, and improved feedback through every corner.

TOOLS NEEDED
Sockets: 19mm, 17mm, 14mm, 12mm.
Wrenches: 17mm.
Impact wrench.
Ratchet.
Torque wrench.
Spanner wrenches (provided with kit).
Measuring tape (provided with kit).
Floor jack.
Jack stands.
Flashlight (optional).

Before beginning the installation, measure the distance from the center of each wheel to the fender for both the front and rear.
Determine your desired ride height adjustment, then write down these measurements for reference.
Safely lift the vehicle using the designated jack points.
Remove the wheels using a 19mm socket.
Remove the brake line bracket bolt using a 12 mm socket.
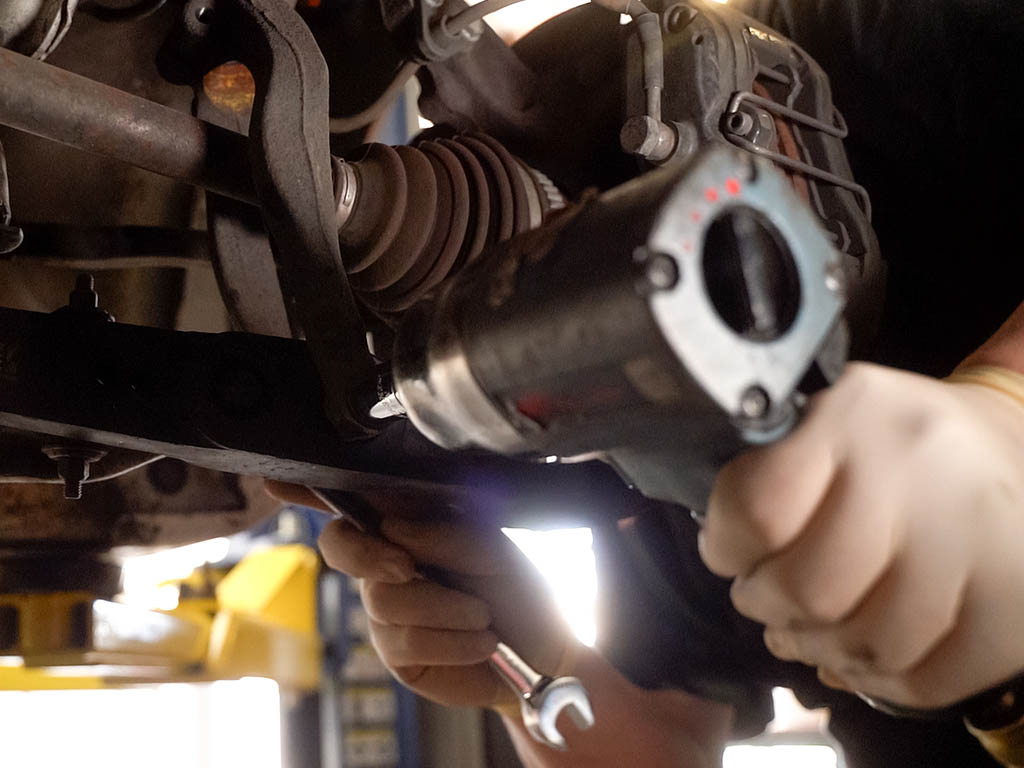
Remove the lower mount bolt from the strut fork pinch clamp using a 17 mm socket.
Remove the lower strut fork mounting bolt using a 17 mm socket and 17 mm wrench, then remove the strut fork.
Remove the three top hat nuts using a 14 mm socket, then remove the strut assembly.
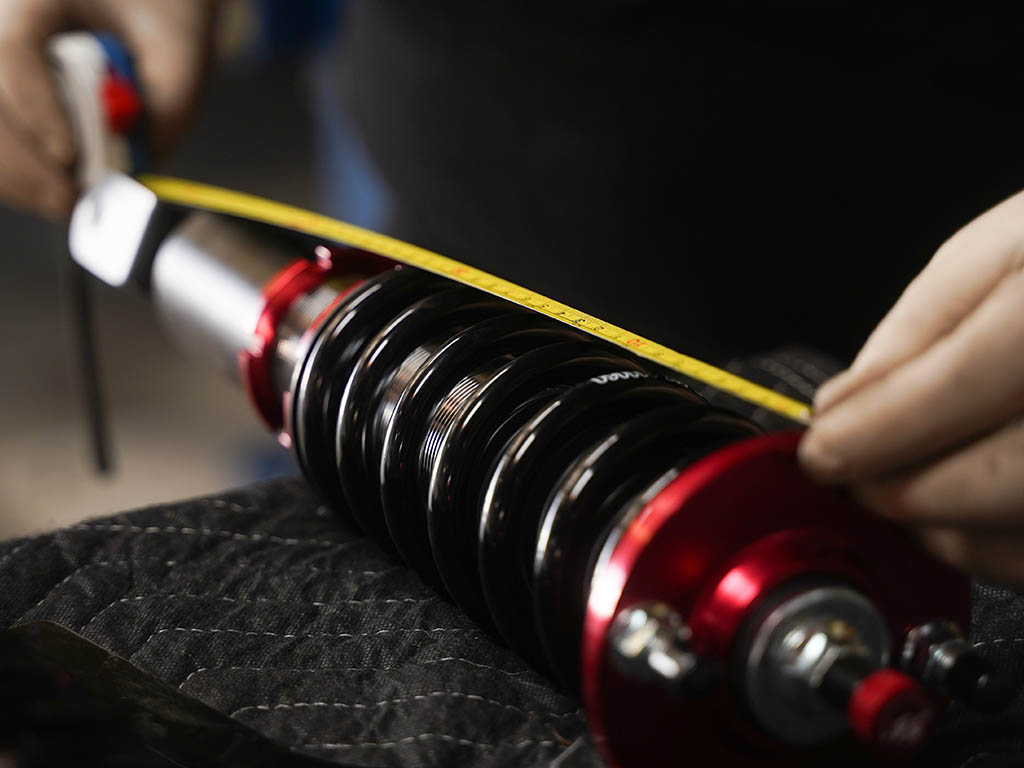
Adjust coilover to desired height before install.
ATTENTION: Do not adjust ride height using the spring perches, as they are intended for spring preload adjustment only.
Click here for video on how to reset preload.
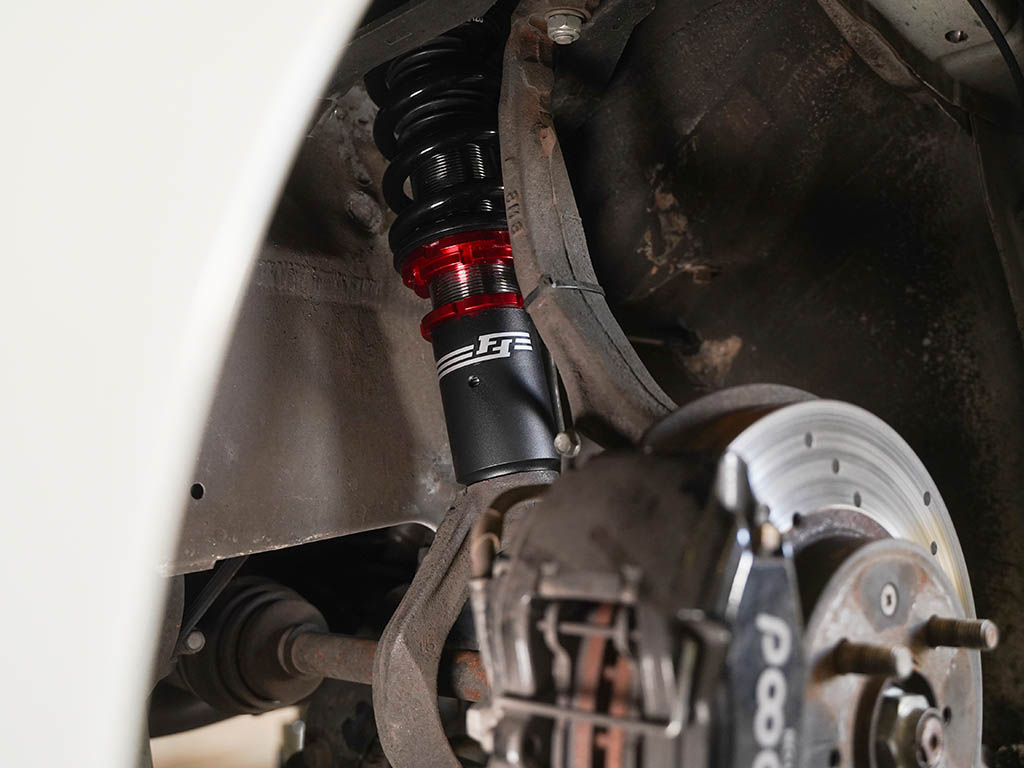
Place the strut into position and hand tighten the top hat nuts.

Install the fork and torque the pinch bolt to 32 lb-ft.
Torque the lower mount bolt/nut with a 17mm socket and 17mm wrench to 47 lb-ft.
Install the brake line bracket with a 12mm socket to 16 lb-ft.
Torque top hat nuts with a 14mm socket to. 33 lb-ft
Reinstall the wheels and torque the lug nuts to 80 lb-ft.
This concludes the front Acura Integra DC2 coilover instructions.
REAR INSTALLATION

Remove the rear wheels with a 19mm socket.
Remove the lower mount bolt with a 17mm socket and 17mm wrench.
Remove side trunk panels to expose strut towers.
Remove the two top hat nuts with a 14mm socket and remove the strut.
Adjust coilover to desired height before install.
Place the strut into position and hand tighten the top hat nuts.
Torque with a 17mm socket and 17mm wrench to 89 lb-ft.
Torque top hat nuts with a 14mm socket to 33 lb-ft.
Torque the lug nuts with a 19mm socket to 80 lb-ft.
This completes Acura Integra coilover install instructions. An alignment is recommended one week after installation to allow the suspension to settle properly.

Learn about us here
Follow us on Instagram