How to Replace and Properly Install Damper Knob
In this comprehensive guide, we’ll walk you through the essential steps to properly replace and install damper knobs, ensuring optimal performance without causing any damage. We break down different generations of coilover so if you don’t see your style of damper knob scroll down to see other styles of damper knobs.
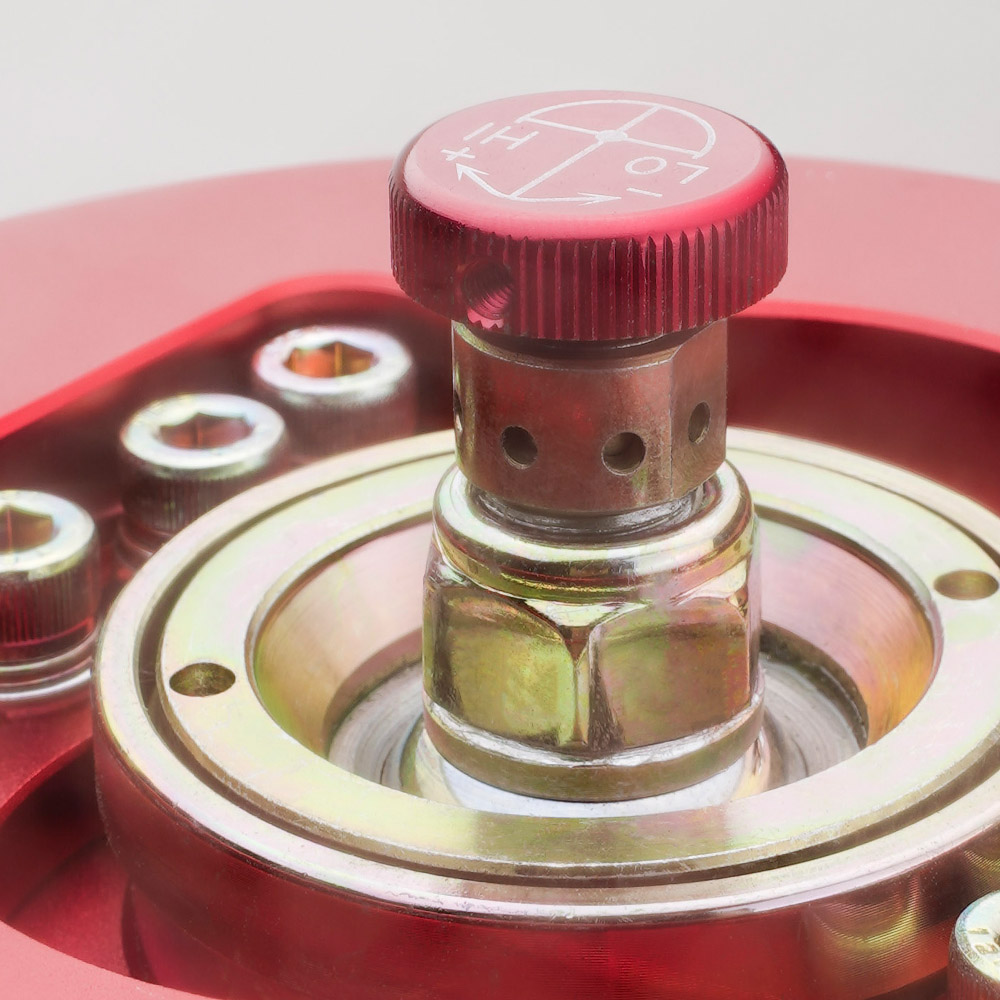
Previous Generation Type 2 Damper Knob
Step 1: Gather Your Tools
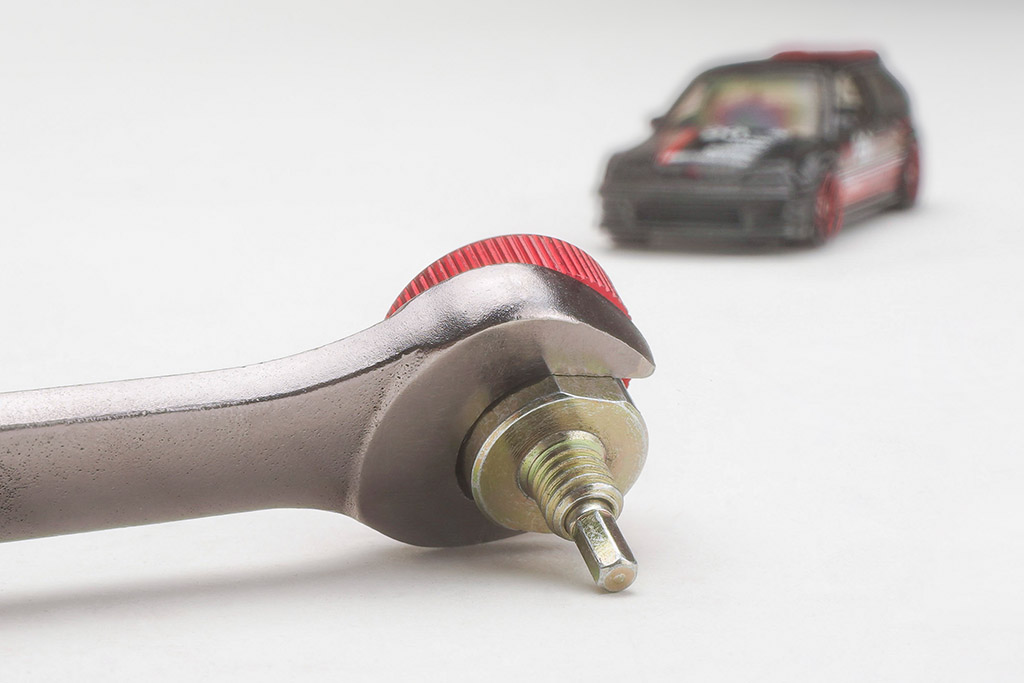
Before diving into the replacement process, ensure you have a 13mm wrench on hand. This tool will be crucial for loosening the existing damper knob.
Step 2: Loosen the Damper Knob
Using the 13mm wrench, carefully loosen the damper knob by turning it counterclockwise.
Step 3: Remove the Damper Knob
Once the damper knob is sufficiently loosened, twist it off entirely. Ensure a smooth and controlled removal to avoid any unnecessary strain on the coilover components.
Step 4: Preparing for Installation
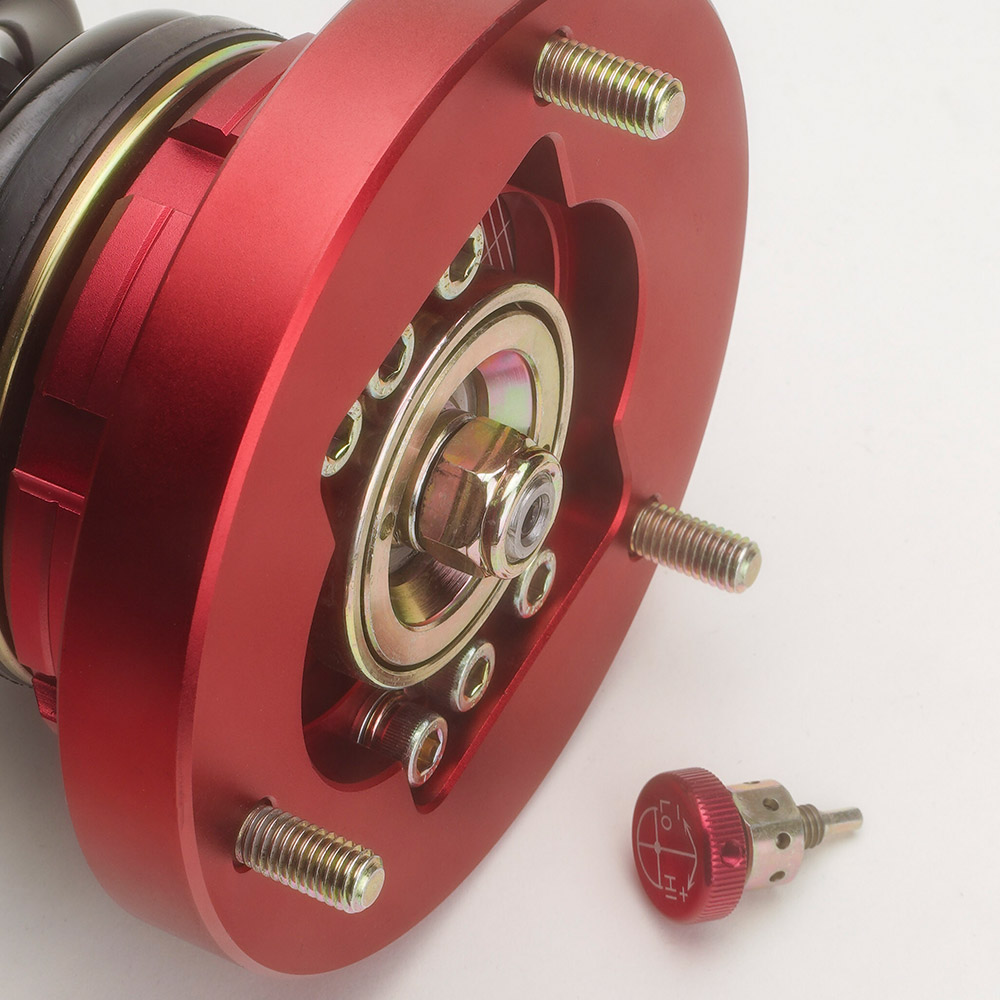
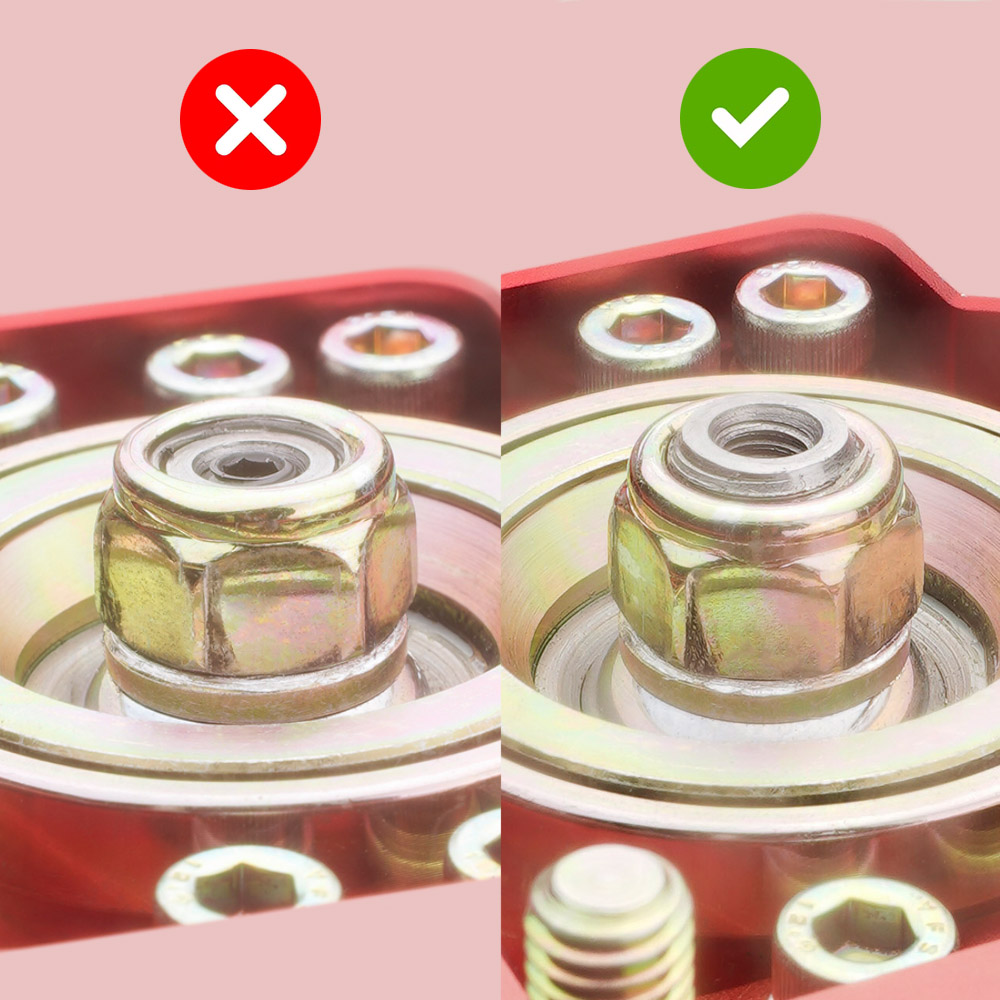
Before installing the new damper knob, take a moment to inspect the coilover. Ensure that a few threads are visible above the top hat nut. This precaution is vital to guarantee that the damper knob catches correctly during installation.
Step 5: Check the Allen Bolt Position
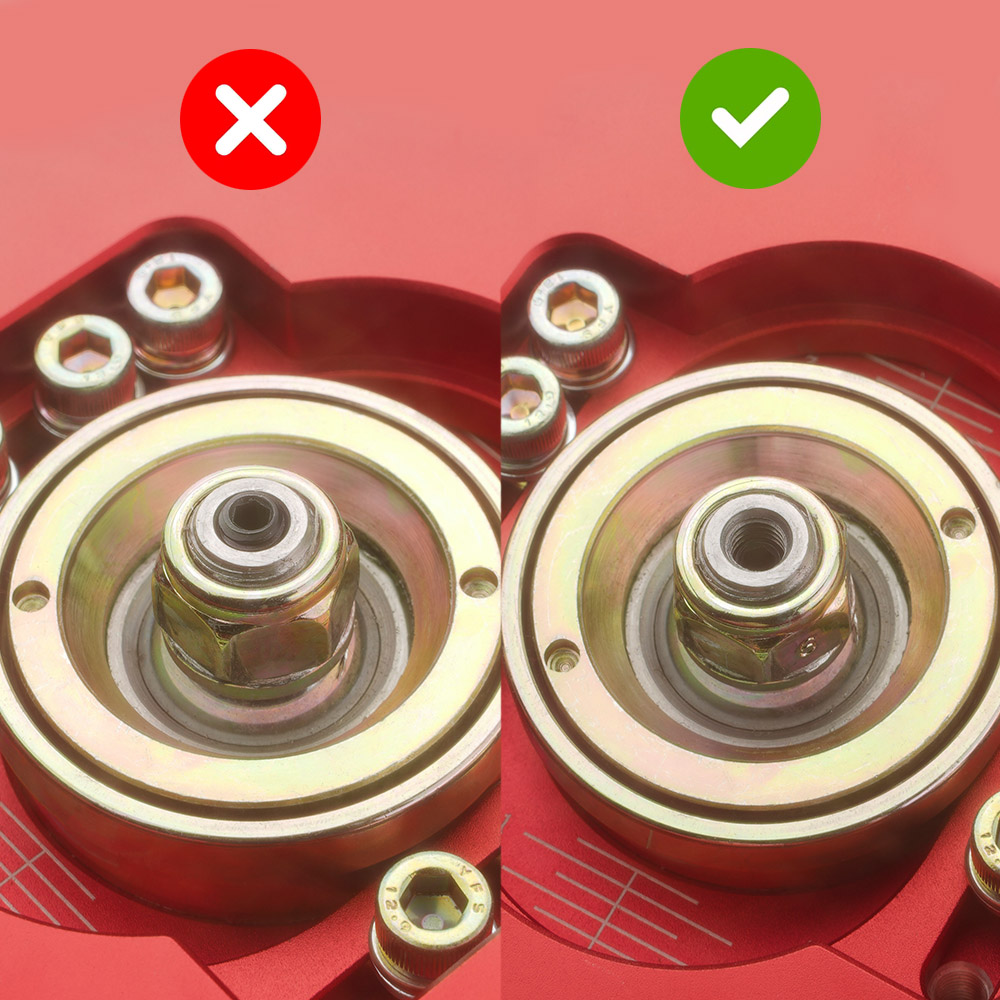
Inspect the position of the Allen bolt inside the shock thread. If it is above or at the top of the shock, use the bottom of the damper knob to gently twist it down to the correct lower position.
Step 6: Install the New Damper Knob
Carefully screw on the new damper knob. Hand-tighten it to the bottom than with 13mm wrench tighten it. Caution only takes a few degrees to tighten the damper knob; avoid over-tightening to prevent damage to the knob or shock adjustment.
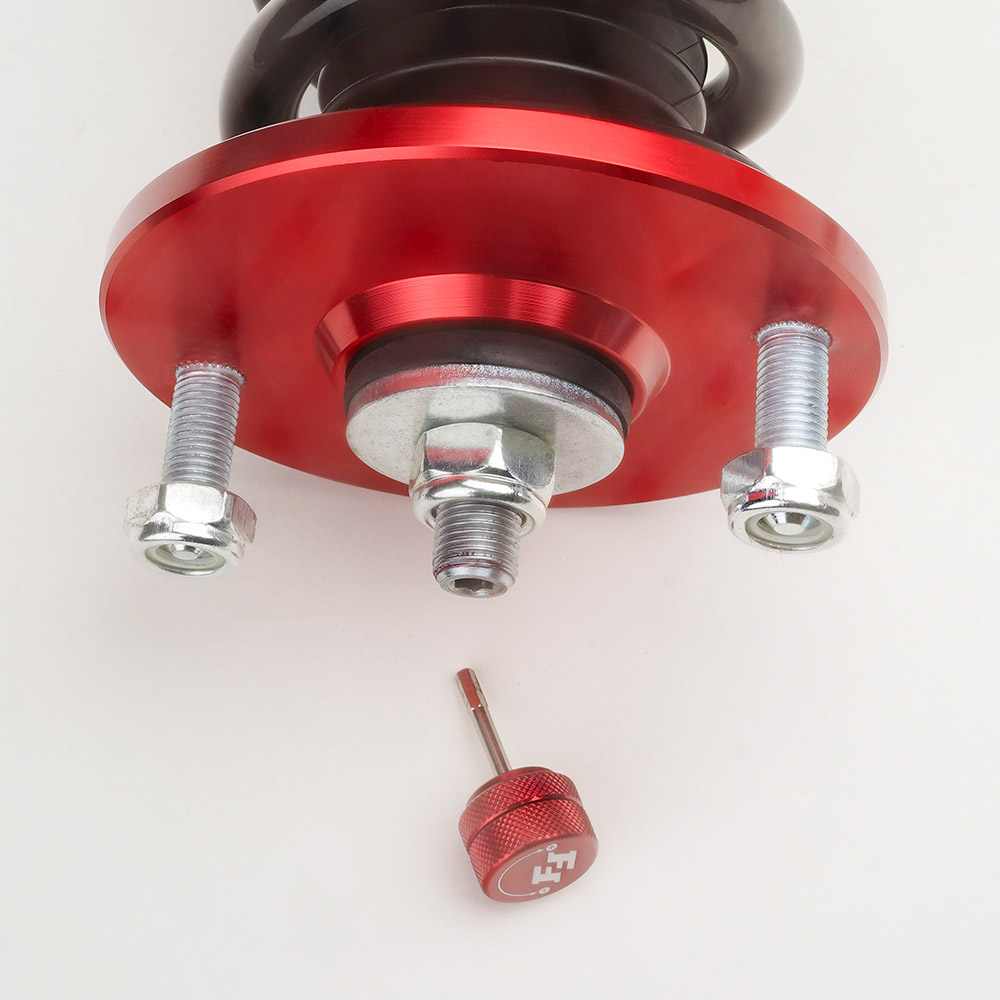
Current Generation Type 2 Damper Knob
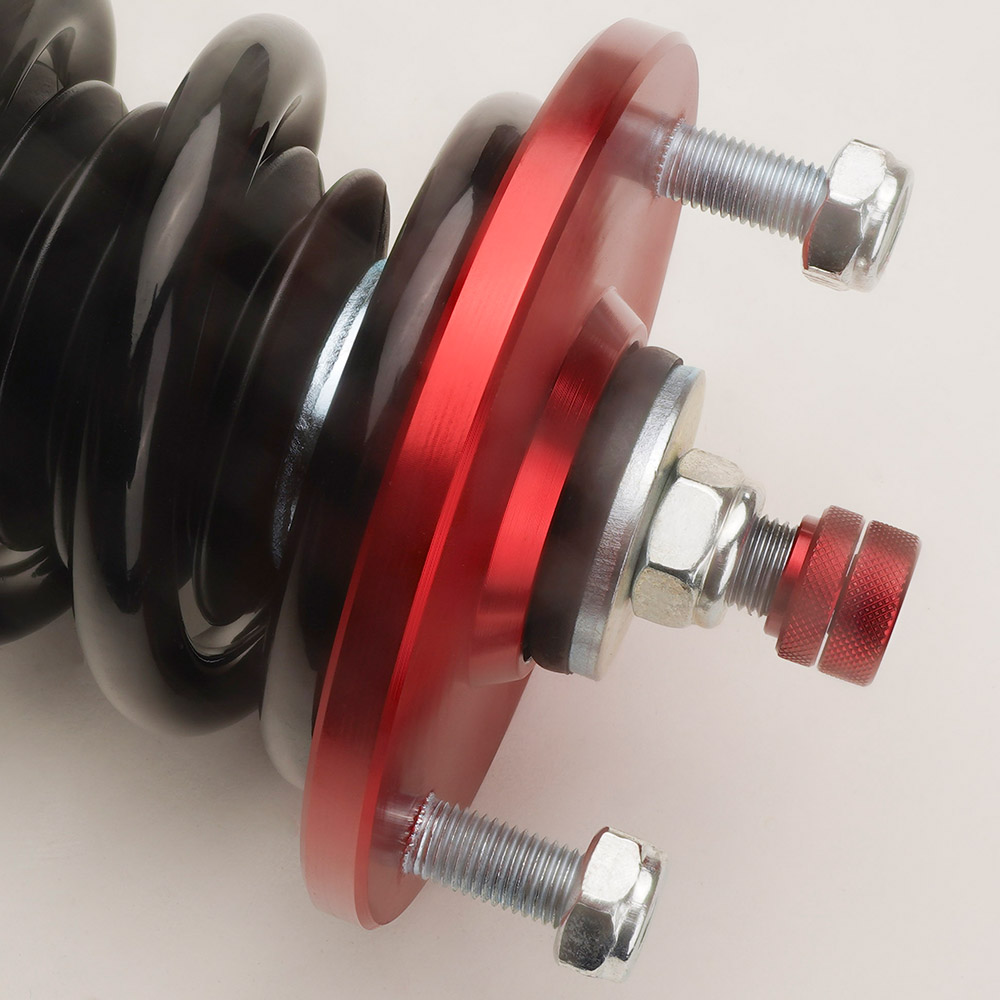
The current generation of Type 2 coilover is an updated version that is simpler to change out. All you have to do is twist the lower part of the damper knob (counter-clockwise) to remove it.
Type 3 Damper Knob
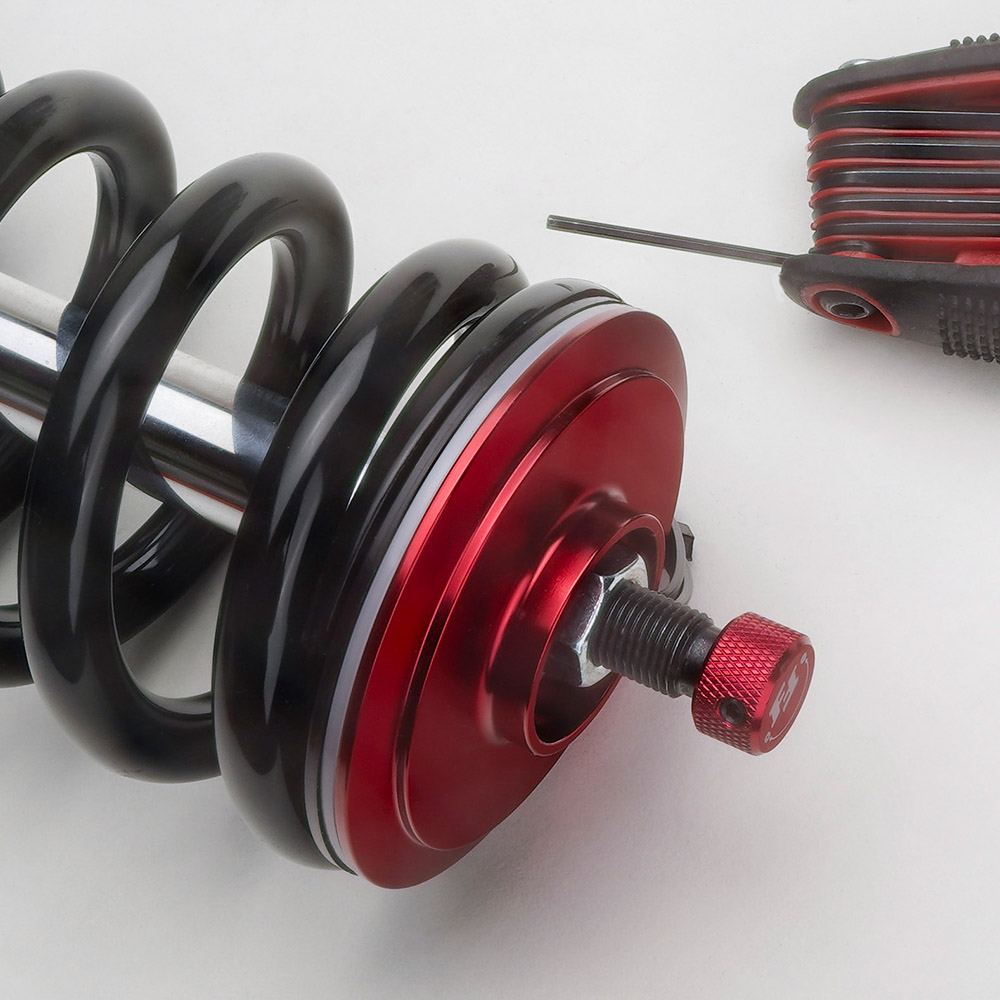
Type 3 Coilovers use a 5/64 size allen wrench to loosen the allen bolt and remove the damper knob with ease.
By following these meticulous steps, you’ll master the art of replacing damper knobs on your Function and Form coilovers.
If you have any further questions please contact us at our support email support@f2suspension.com make sure to explain with photos of the part you need help on. We recommend adding the serial number (located under each coilover under the black dust boot) This helps us track down which generation coilover you have so we can correctly assist you
Thank you!