
Honda Civic EG Coilover Install Instructions
Welcome to the 1992-1995 Honda Civic EG coilover installation instructions guide. This detailed walkthrough will provide step-by-step instructions to ensure a smooth and successful installation. We’ve included the recommended tools, precise torque specs straight from the manufacturer, and other essential tips to help you along the way. This guide focuses on the Function and Form Type 3 Coilover kit but will also work with our Type 1, Type 2, and Type 4 coilover systems, designed to fit fifth-generation Honda Civic models from 1992 to 1995. For reference, our test vehicle was a Honda Civic EG modified with 225/45/15 Falken Azenis RT660 tires and 15×8 +35 Volk TE37 . After installation, we recommend scheduling an alignment about a week later to allow time for the suspension to settle and achieve optimal performance. There is a link to a video at the bottom of this post if you would like to watch it instead.

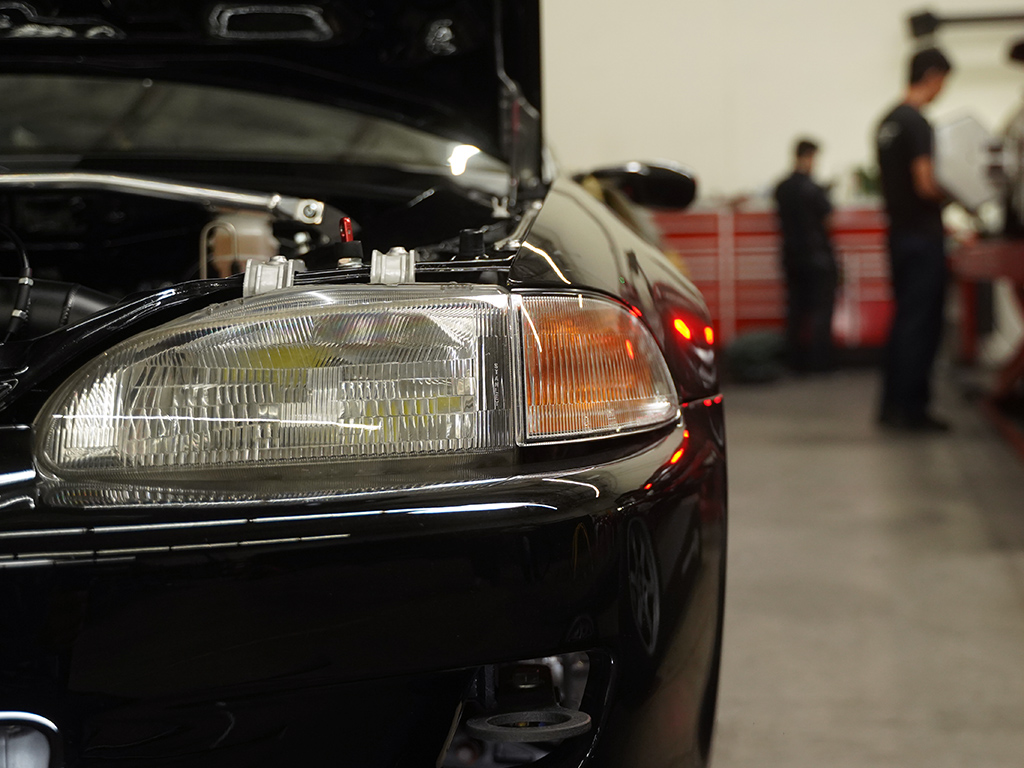
The fifth-generation Honda Civic, chassis code EG, was a significant departure from its predecessors, showcasing a more aerodynamic and rounded design. Launched in 1992, this generation quickly earned a reputation for its lightweight chassis, exceptional fuel economy, and agile handling, thanks to its sophisticated double-wishbone suspension at all four corners. This setup, inherited from the Acura Integra, provided a perfect blend of comfortable ride quality and high-performance stability, making the EG a favorite among automotive enthusiasts. The EG platform laid the groundwork for the legendary Civic Type R, with its VTEC engine technology becoming a benchmark for high-revving, naturally aspirated performance. Even three decades later, the EG remains a tuning icon, prized for its robust aftermarket support and timeless design.
TOOLS NEEDED
Sockets: 19mm, 17mm, 14mm, 12mm, 10mm.
Wrenches: 19mm, 17mm.
Impact wrench.
Ratchet.
Torque wrench.
Spanner wrenches (provided with kit).
Measuring tape (provided with kit).
Floor jack.
Jack stands.
Flashlight (optional).

Before beginning the installation, measure the distance from the center of each wheel to the fender for both the front and rear.
Determine your desired ride height adjustment, then write down these measurements for reference.
Safely lift the vehicle using the designated jack points.
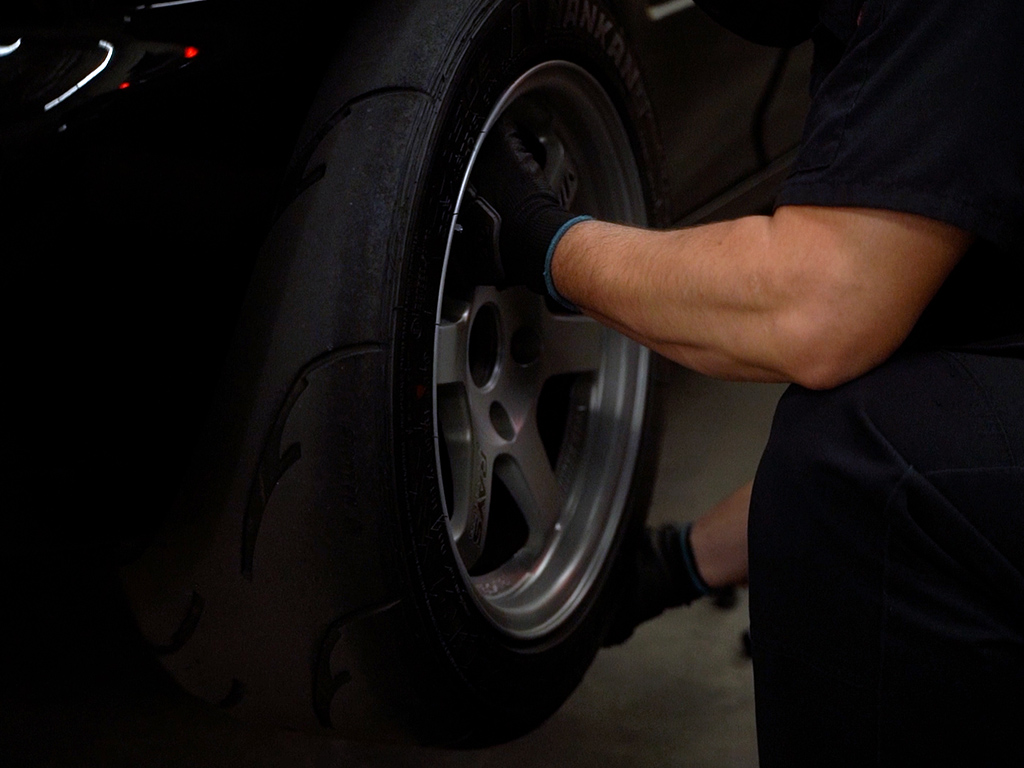
Remove the wheels using a 19mm socket.
Unbolt the brake line bracket by removing the two bolts with a 12mm socket.
Remove the bottom fork bolt on the lower control arm with a 17mm socket and 17mm wrench.

Loosen the fork bolt pinch bolt with a 10mm socket.
Remove the two top mount bolts with a 14mm socket and remove the strut.
Adjust coilover to desired height before install.
ATTENTION: Do not adjust ride height using the spring perches, as they are intended for spring preload adjustment only.
Click here for video on how to reset preload.

Place the strut into position and hand tighten the top hat nuts.
Install the front strut to the fork and torque the 10mm bolt to 32 lb-ft
Use a jack to bring up the lower control arm and torque the fork bolt with a 17mm socket to 47 lb-ft.
Torque the two brake line 12mm bolts to 9 lb-ft
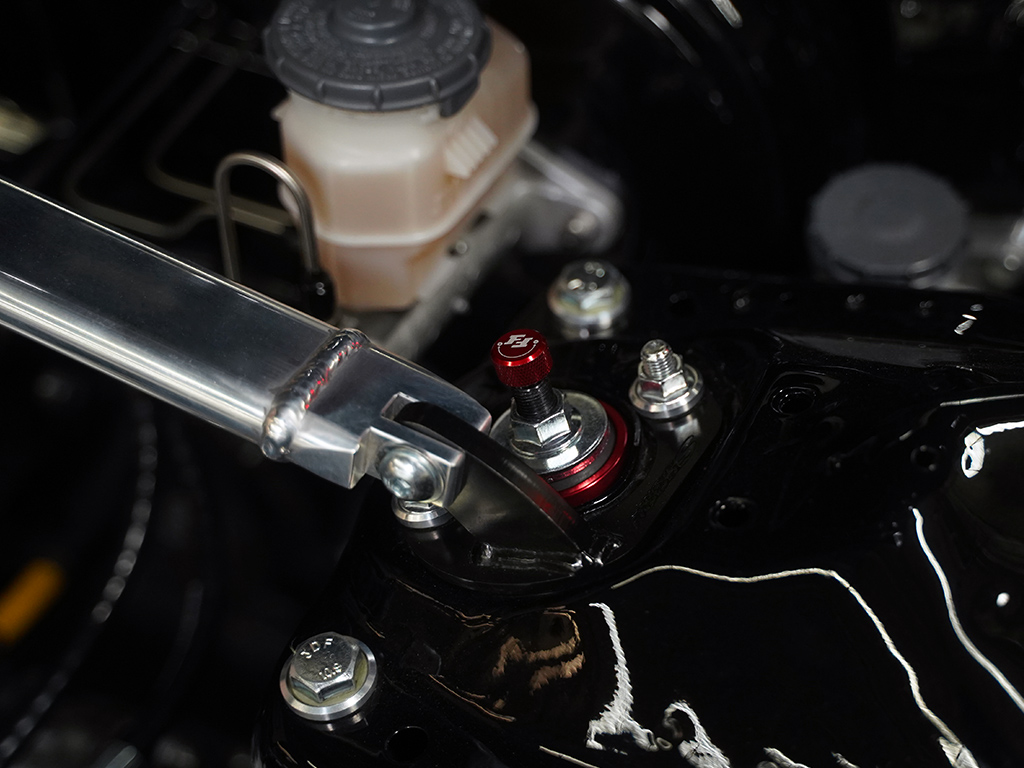
Torque the two top hat nuts to 33 lb-ft.
Reinstall the wheels and torque the lug nuts to 80 lb-ft.
This concludes the front Honda EG Coilover instructions.
Rear Installation
Remove the rear wheels with a 19mm socket.
Jack up the rear lower control arm and remove the lower mount bolt with a 14mm socket and 19mm wrench.
Next open the trunk and remove the carpet to get access to the top mount bolts.
Remove the two top mount nuts with a 14mm socket, and remove the strut.
Next make height adjustment to the coilover before installing coilover.
Place the coilover into place and hand tighten the top hat 14mm nuts.

Support the lower control arm and torque with a 14mm socket and 19mm wrench to 40 lb-ft.
Torque the top hat nuts to 33 lb-ft.
Install the wheels and torque with a 19mm socket to 80 lb-ft.
This completes the Honda Civic EG Coilover Instructions. An alignment is recommended one week after installation to allow the suspension to settle properly.
Learn about us here
Follow us on Instagram