Mazda Miata NA / NB Coilover Install Instructions

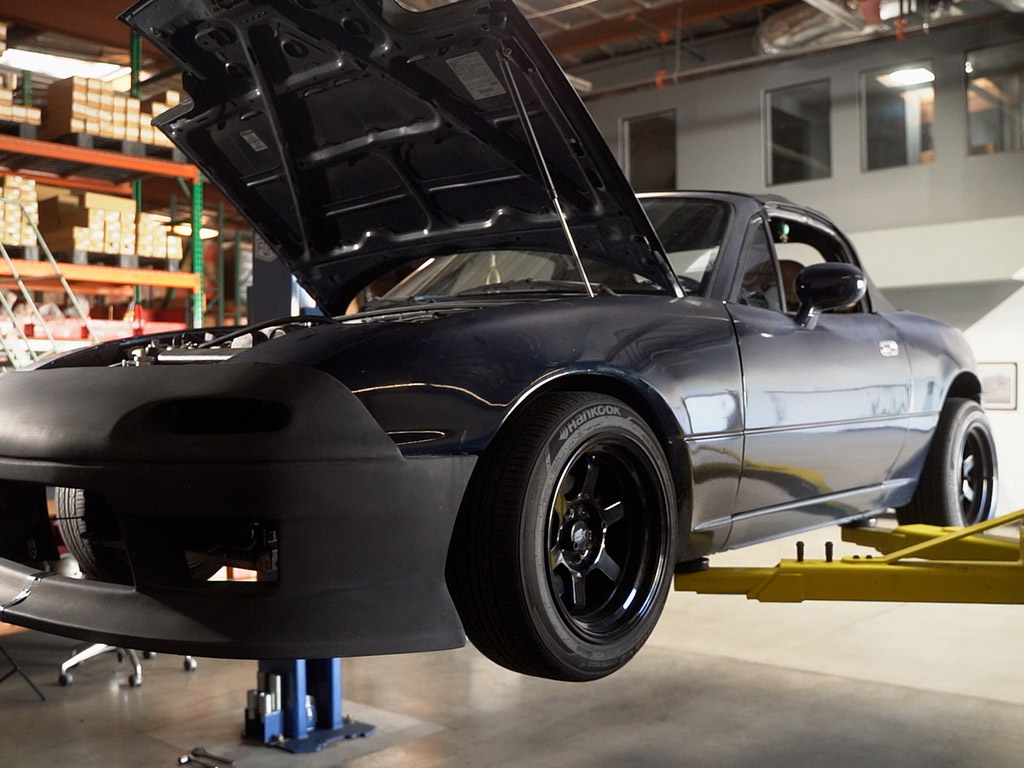
Welcome to the 1990–2005 Mazda Miata coilover installation instructions. This step-by-step guide is designed to make your install process smooth and straightforward. We’ve included the recommended tools, factory torque specs, and key tips to help you get the best results. While this walkthrough highlights the Function and Form Type 3 Coilover kit, the same steps also apply to our Type 2 and Type 4 systems for the Miata. For reference, our test vehicle is a 1999 Miata NB fitted with 185/50/15 tires on lightweight wheels. Once installation is complete, we recommend scheduling a professional alignment after a short settling period to ensure proper handling and tire wear. A link to our video tutorial is available at the end of this post for those who prefer a visual guide.
The Mazda Miata, produced from 1990 to 2005 in NA and NB generations, is celebrated as one of the most iconic roadsters of all time. With its lightweight chassis, near-perfect balance, and engaging rear-wheel-drive layout, the Miata delivers pure driving joy straight from the factory. Its double-wishbone suspension front and rear provides precise handling and makes it an ideal candidate for upgrades. Installing coilovers not only refines the Miata’s stance but also unlocks sharper cornering, improved adjustability, and enhanced road feel for both spirited street driving and track days. With endless aftermarket support and a loyal enthusiast following, the Miata remains one of the most rewarding cars to own and modify, and coilovers are among the best upgrades to elevate its already legendary handling.
TOOLS NEEDED
Sockets: 21mm, 19mm, 17mm, 14mm, 12mm.
Wrenches: 21mm, 17mm.
Impact wrench.
Ratchet.
Torque wrench.
Spanner wrenches (provided with kit).
Measuring tape (provided with kit).
Floor jack.
Jack stands.
Flashlight (optional).
Before beginning the installation, measure the distance from the center of each wheel to the fender for both the front and rear.
Determine your desired ride height adjustment, then write down these measurements for reference.
Safely lift the vehicle using the designated jack points.
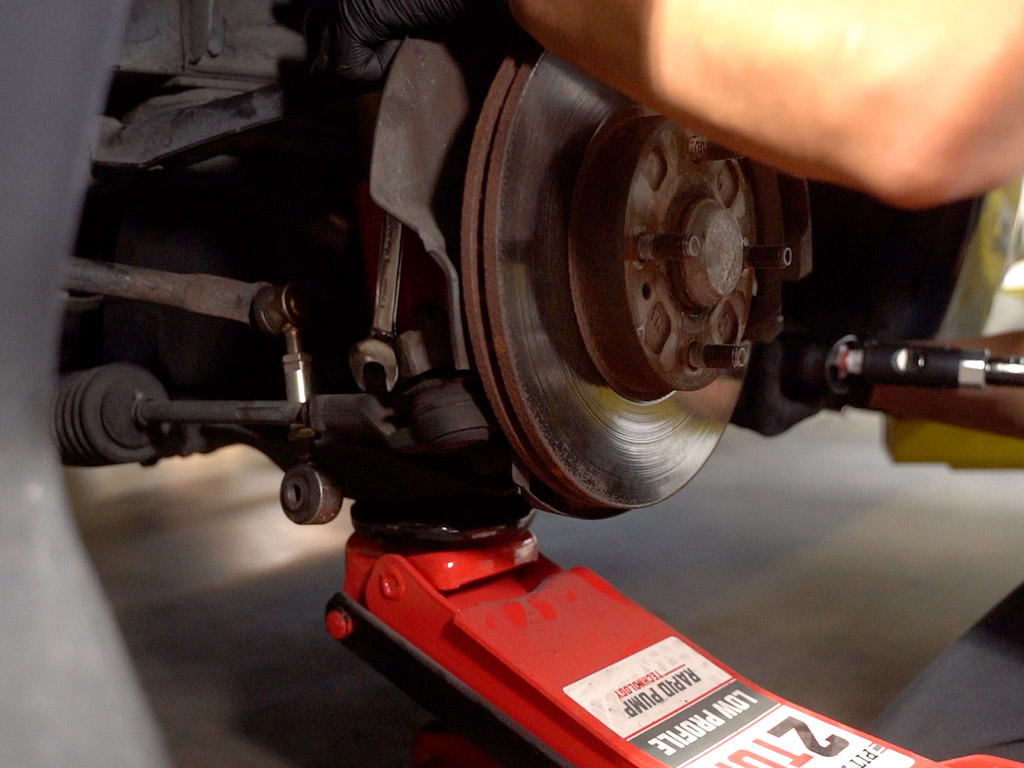
Remove the wheels using a 19mm socket.
Remove lower arm bolt a 17mm socket and 17mm wrench.
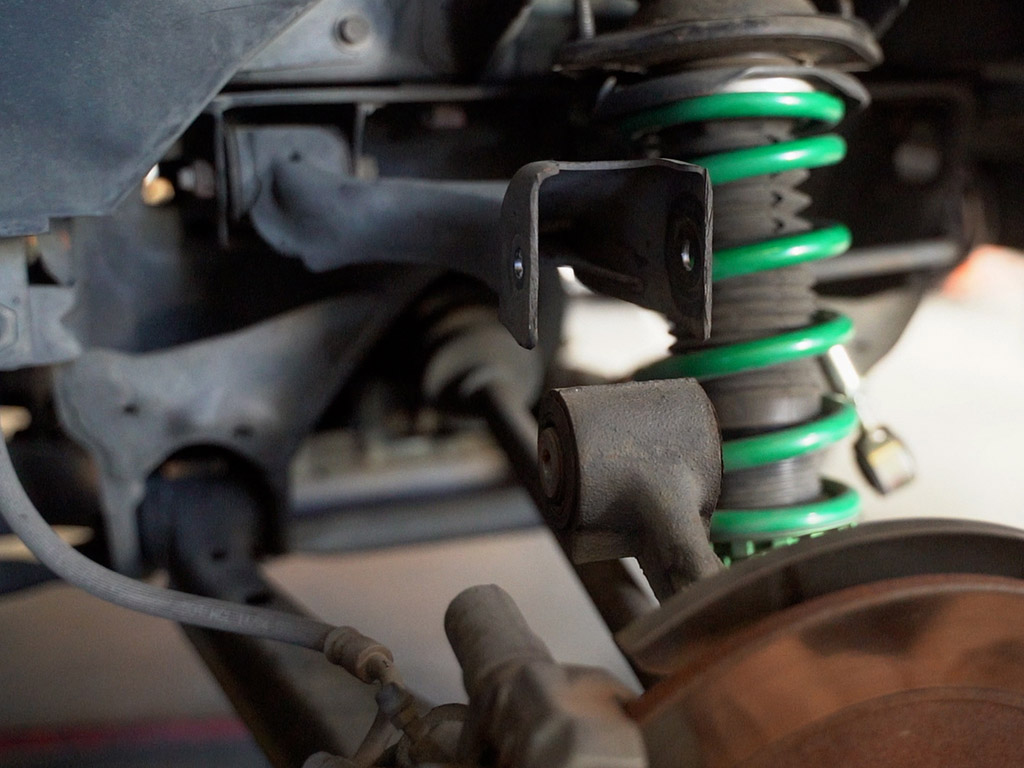
Remove the three top hat nuts with a 14mm socket and remove the strut.
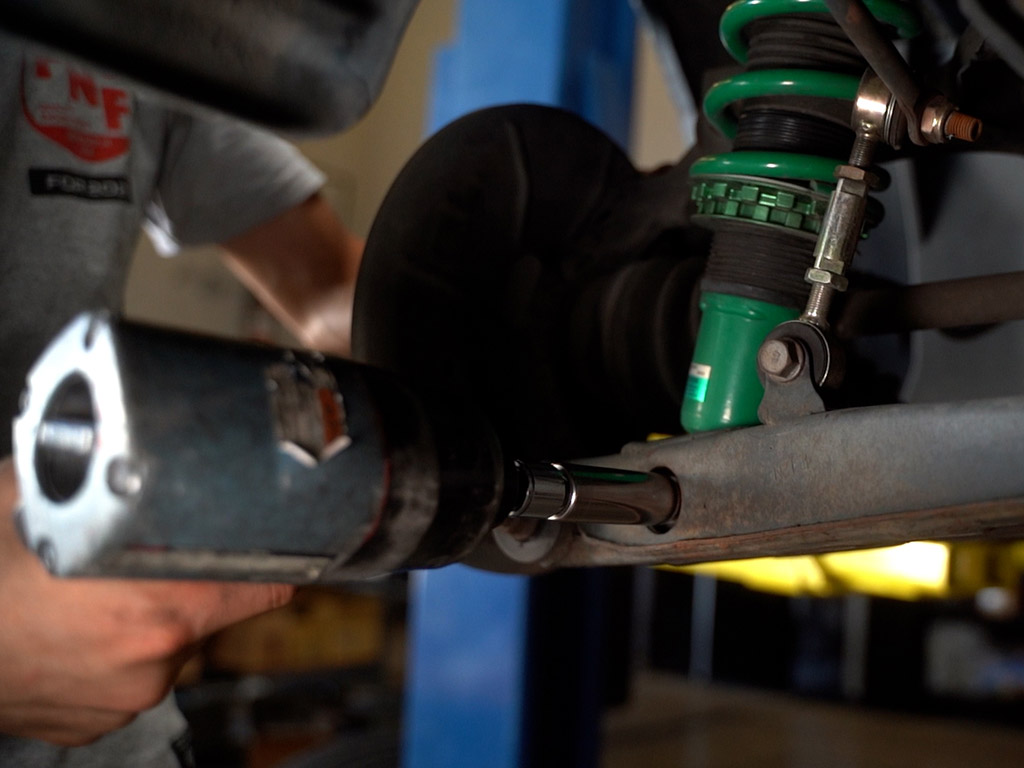
Support the spindle with a jack.
Remove the A-arm bolt using a 21mm socket and wrench.
(Note: you might have to loosen the front sway bar mount bolts with a 14mm socket to make enough room for the long A arm bolt to come out.)
Remove the strut.

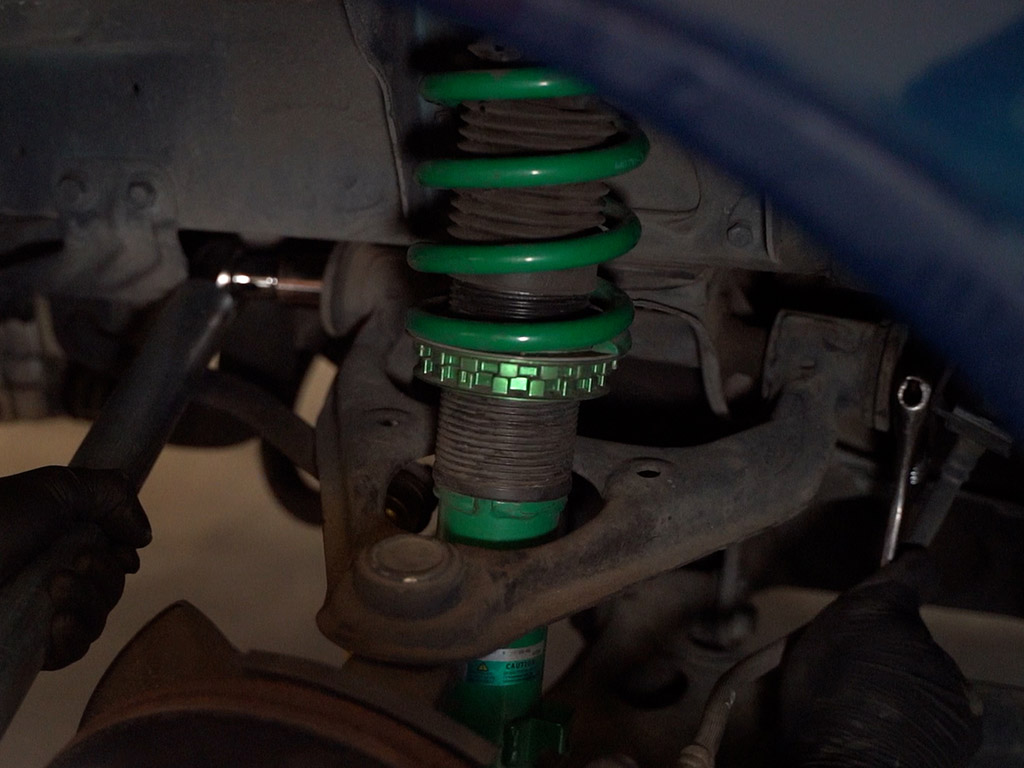
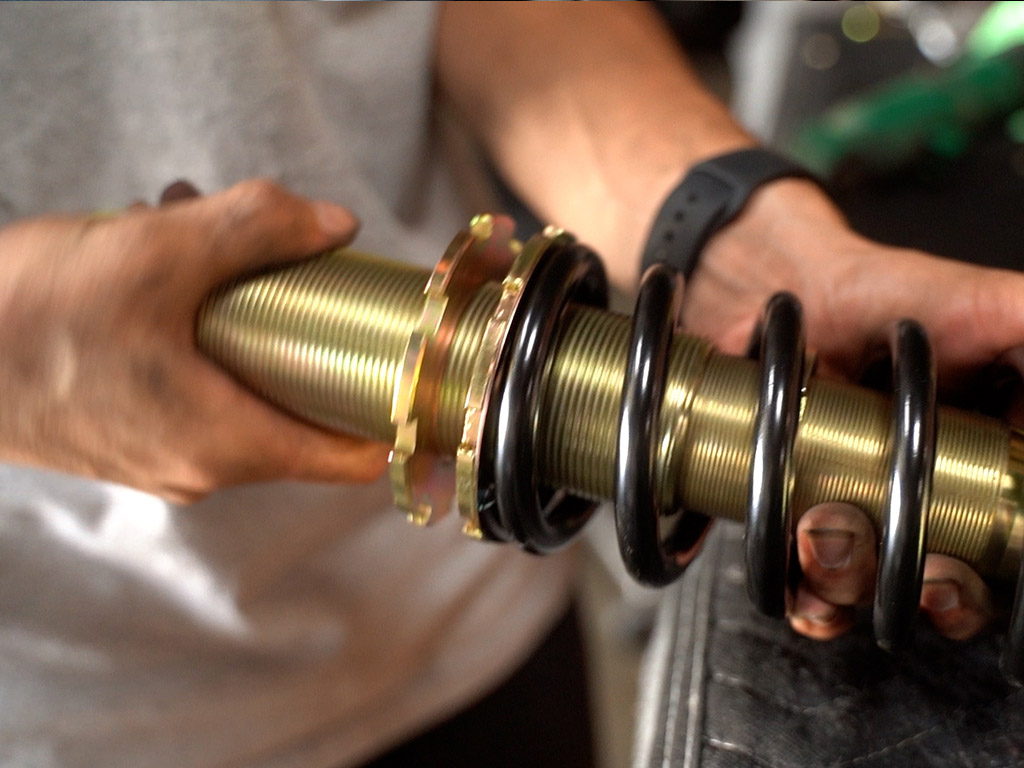
Adjust coilover to desired height before install.
ATTENTION: Do not adjust ride height using the spring perches, as they are intended for spring preload adjustment only.
Click here for video on how to reset preload.
Place the strut into position and hand tighten the top hat nuts.
Install the A-arm bolt and torque with a 21mm socket and wrench to 90 lb-ft.
Insert the coilover into place support the lower control arm and torque lower mount bolt with a 17mm socket to 60 lb-ft.
Torque top hat nuts to 24 lb-ft.
Reinstall the wheels and torque the lug nuts to 80 lb-ft.
REAR INSTALLATION
Remove the wheels using a 19mm socket.
Remove lower arm bolt a 17mm socket.
Remove sway bar endlink bolt with a 17mm socket.

Remove trunk cover by removing the 4 bolts with a 14mm socket on passenger side to get to top mount nuts.
Remove the rear upper control arm from the spindle with a 17mm socket.
Remove the two top mount bolts with a 14mm socket and remove the strut.
Adjust coilover to desired height, some minor adjustments might need to be done for clearance with the axel.
Place strut into place and torque the top hat nuts with 14mm socket to 24 lb-ft.
Torque the lower arm bolt to 60 lb-ft.
Torque the endlink bolt to 30 lb-ft.
Reinstall the wheels and torque the lug nuts to 80 lb-ft.
This completes the Mazda Miata coilover installation instructions.
Learn about us here
Follow us on Instagram